How to Install Windows on OVH VPS – Are you looking to install Windows on OVH VPS and unlock the power of virtualized Windows environments? Whether you’re setting up a Windows server for development, testing, or other business use cases, OVH VPS offers a flexible and cost-effective solution. This comprehensive guide will walk you through the entire process of installing Windows on your OVH VPS, highlight the benefits, and give you expert insights into the best tools and VPS configurations to get the job done.
Step-by-Step Guide to Installing Windows on OVH VPS
1. Choosing Your OVH VPS Plan
The first step in installing Windows on an OVH VPS is selecting the right VPS plan that fits your requirements. OVH offers various VPS configurations, so it’s essential to pick one that can handle Windows installation efficiently. Here’s a quick rundown of the ideal specs for your VPS:
- CPU: At least 2 cores for smoother performance
- RAM: 4GB minimum for a responsive Windows experience
- Disk Space: SSD storage is highly recommended for fast data access
If you’re looking for a basic installation, you can go with the OVH VPS SSD 1 plan, but for more demanding use cases, consider the OVH VPS SSD 3 or higher.
2. Accessing the OVH Control Panel
Once you’ve selected your plan, access the OVH Control Panel. This is where you’ll manage your VPS settings, including OS installation.
- Log in to the OVH Control Panel at https://www.ovh.com/.
- Navigate to the VPS section and choose your active VPS instance.
- Look for the Reinstall option, which allows you to choose an operating system for installation.
3. Choosing Windows OS for Installation
After clicking Reinstall, you’ll be presented with a list of available operating systems. OVH offers several Windows versions for installation. Select the version of Windows you wish to install (e.g., Windows Server 2019 or Windows Server 2022).
- Windows Server 2019: A popular choice for businesses, offering stability and security.
- Windows Server 2022: Latest version with enhanced security and performance features.
- Windows 10: Ideal for users who need a desktop-oriented environment.
Once selected, click Install, and the system will start installing the OS on your VPS.
4. Remote Desktop Access to Your Windows VPS
Once the installation process is complete, you can access your Windows VPS via Remote Desktop Protocol (RDP). You’ll receive the RDP credentials from OVH in the Control Panel or via email.
- Open Remote Desktop on your computer (Windows or Mac).
- Enter the provided IP address, username, and password.
- Enjoy full control over your new Windows VPS!
Benefits of Installing Windows on OVH VPS

1. Scalability and Flexibility
With OVH VPS, you can scale your resources as your needs grow. This is especially useful for Windows installations, which may require higher resources for certain tasks such as hosting multiple websites, running databases, or providing enterprise-level services.
- You can easily upgrade RAM, CPU, and storage without the need for manual intervention.
- Whether you need temporary resources for a project or permanent scalability, OVH has got you covered.
2. Cost-Effective Solutions
Compared to dedicated servers, OVH VPS offers a cost-effective solution to run Windows environments. You only pay for the resources you need, which allows small businesses or developers to save on unnecessary expenses.
For example, if you only need a basic Windows environment for development or light usage, OVH’s lower-tier VPS plans are an affordable way to get started.
3. Security Features
OVH offers robust security features, ensuring your Windows VPS remains secure from external threats. Features include:
- Automatic DDoS Protection: Protects your server from external attacks.
- Free Firewall Protection: Built-in firewall to secure your network and applications.
- Backup Options: OVH provides automated backups, ensuring that your data is safe.
4. Reliability and Uptime
OVH boasts a 99.99% uptime guarantee, which means your Windows VPS will remain highly available and perform at its best. This reliability is critical for business applications, web hosting, or any other project that demands constant availability.
5. Easy Integration with Third-Party Applications
Running Windows on OVH VPS gives you access to various third-party applications and tools that can help automate and enhance your workflows. With Windows Server 2022, for example, you have seamless integration with cloud tools, containerization services like Docker, and Windows-specific apps like SQL Server.
Real-World Product Examples and VPS Configurations
Here are some real-world VPS examples and how they compare for installing Windows on OVH VPS:
| Product | Use Case | Pros | Cons | Price | Features |
|---|---|---|---|---|---|
| OVH VPS SSD 1 | Small websites, light applications | Affordable, SSD storage | Limited RAM/CPU | From $5/month | 1 vCore, 2GB RAM, 20GB SSD |
| OVH VPS SSD 3 | Medium-size businesses, web apps | Higher RAM/CPU, SSD | Higher cost | From $15/month | 2 vCores, 8GB RAM, 40GB SSD |
| OVH VPS Cloud | Enterprises needing high scalability | Scalable, fast SSD | Can be expensive | From $30/month | 4 vCores, 16GB RAM, 60GB SSD |
Why Choose OVH VPS for Windows?
OVH offers a range of VPS options that are specifically designed for flexibility and performance. Whether you need basic Windows hosting or more advanced configurations for enterprise applications, OVH has a plan suited for your needs.
Benefits of OVH’s VPS Plans:
- Customizable: Choose from multiple configurations based on your exact requirements.
- Global Availability: OVH has data centers worldwide, ensuring low-latency access no matter your location.
- Dedicated Support: OVH provides 24/7 customer support to assist you in setting up and managing your VPS.
How to Buy OVH VPS and Install Windows
To buy and install OVH VPS with Windows, follow these steps:
- Visit OVH’s website: https://www.ovh.com.
- Choose your desired VPS plan (SSD, Cloud, etc.).
- Sign up for an OVH account or log into your existing account.
- Select Windows as your operating system during checkout.
- Complete the purchase and follow the installation instructions.
5 FAQ About Installing Windows on OVH VPS
1. Can I install Windows 10 on OVH VPS?
Yes, OVH offers both Windows Server 2019 and Windows Server 2022 by default, but you can also install Windows 10 if your use case requires it.
2. Is it easy to upgrade my OVH VPS for Windows?
Yes, OVH allows you to easily scale your VPS. If your Windows installation requires more resources over time, you can upgrade your CPU, RAM, and storage directly through the OVH control panel.
3. Do I get support for Windows-related issues?
OVH provides support for VPS issues, including Windows installations. However, troubleshooting Windows-specific software or application problems might require additional expertise.
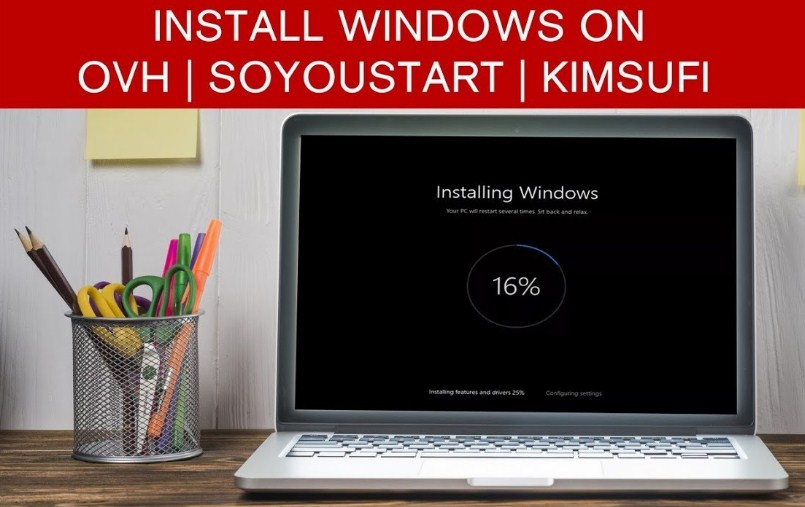
4. How long does the Windows installation take?
The installation process typically takes between 10-20 minutes, depending on the speed of the VPS and the Windows version being installed.
5. Can I run third-party Windows apps on OVH VPS?
Yes, OVH VPS is fully compatible with third-party Windows applications like SQL Server, IIS, and Docker, making it a versatile platform for developers and businesses.
Conclusion
Installing Windows on OVH VPS is a cost-effective and scalable solution for anyone needing a Windows environment. From small developers to large enterprises, OVH offers a variety of VPS plans that can be easily customized to meet your needs. Whether you’re setting up a basic test server or a high-performance web application, OVH’s VPS service provides excellent reliability, security, and support.
For a seamless experience, consider upgrading to a higher-tier OVH VPS plan to take full advantage of Windows capabilities. Start today by selecting your ideal plan, and unlock the potential of a fully optimized Windows environment on your OVH VPS!
Read More >>>
- How to Start a Web Hosting Business from Home: A Step-by-Step Guide (2025)
- How to Start a Web Design Business from Home: Step-by-Step Guide